
The most effective low-cost root cellar option for most home growers is not a new construction project. It is a partitioned corner of an existing basement, properly insulated between the cellar space and the living space above — and critically, not insulated between the cellar and the ground.
Quick Answer
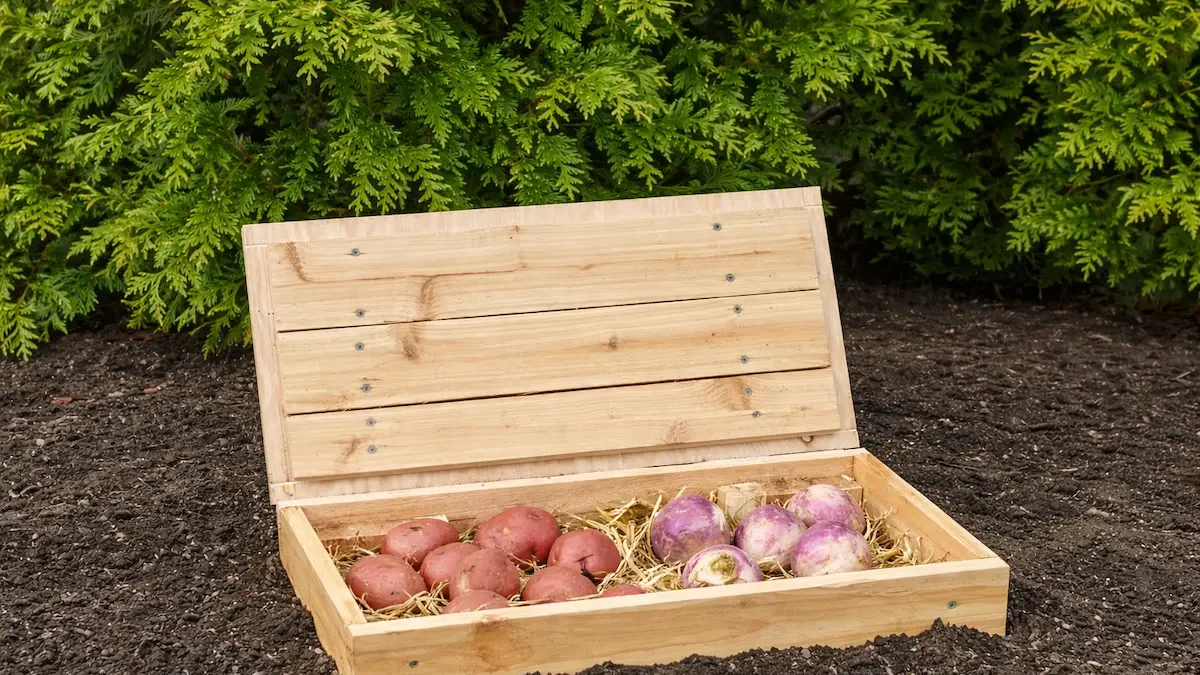
The four conditions every root cellar must meet: temperature 32–40°F (0–4°C), humidity 85–95%, darkness, and ventilation. A space that cannot maintain these will not store produce regardless of how well it is built.
Lowest cost option: a basement corner cellar using an existing north-facing exterior wall. Total material cost: insulation for the ceiling and internal partition walls, an insulated door, and two 4-inch ventilation pipes. Typically under £300–£400 with salvaged materials.
No basement option: a buried bin (a metal rubbish bin packed in straw, set into the ground) works for small quantities — potatoes, carrots, beetroot — through winter. Free to build; limited to perhaps 20–30 kg of produce.
According to Ecohome’s passive root cellar design guide (November 2025), the key to a basement root cellar is understanding which surfaces to insulate and which to leave alone. The exterior foundation walls and concrete floor are the thermal mass that keeps the cellar cool — they draw coolness from the surrounding earth. Insulating them breaks the connection to the ground and eliminates the very mechanism that makes a root cellar work. The correct approach is to insulate the ceiling (preventing heat from the living space above from entering) and the internal partition walls (preventing warm basement air from entering). The exterior walls must remain uninsulated.
Three Options Ranked by Cost and Effort
Option 1 — Basement Corner Cellar£100–£400
Choose a north-facing corner with two exterior walls. These require no insulation — they are in contact with the cool earth. Frame partition walls on the remaining two sides with 3½-inch fibreglass or rigid foam insulation. Insulate the ceiling thoroughly — heat from above is the main threat to temperature. Fit an insulated exterior-grade door with weatherstripping. Install two 4-inch PVC vent pipes: one near the floor (intake) and one near the ceiling (exhaust), both running to outside air with screened caps. Hobby Farms (April 2025) notes that temperature and humidity can often be regulated simply by opening and closing the vents in response to weather.
Option 2 — Buried Bin or BarrelFree – £20
Dig a hole in well-drained soil at least 3–4 feet deep to get below the frost line. Place a metal bin or wooden barrel in the hole, line the base with straw, and layer produce and straw alternately. Cover with a waterproof lid and mound soil over the top. Works well for small quantities of root vegetables through a single winter — suitable for a household’s use, not for bulk storage. Main limitations: difficult access in frozen ground; limited capacity of around 20–30 kg.
Option 3 — Outdoor Hillside Cellar£400–£1,000+
Excavate into a north-facing slope for natural insulation on three sides. Construction requires timber or block walls, a sturdy roof to bear soil load, drainage, an insulated door, and ventilation. Grit’s root cellar guide stresses that roof and walls must bear the weight of damp soil and snow. The most capable option for large-scale storage — but requires the most labour and planning.
What All Options Require
| Requirement | Why It Matters | How to Achieve It |
|---|---|---|
| Temperature 32–40°F (0–4°C) | Slows respiration, enzyme activity, and microbial growth in stored produce | Thermal mass (earth contact) + ventilation control. Monitor with a min/max thermometer |
| Humidity 85–95% | Prevents produce from desiccating. Low humidity causes shrivelling within weeks | Unpacked earth or gravel floor; damp sand around roots; open buckets of water. Do not use sealed concrete |
| Ventilation | Prevents CO₂ and ethylene build-up that accelerate ripening and cause off-flavours | Two vents — one low (intake), one high (exhaust) — with adjustable dampers or covers |
| Darkness | Light triggers sprouting in potatoes and alliums | Block any windows. Keep lights off when not in the cellar |
| Separation by type | Ethylene from apples, pears, and onions accelerates deterioration of other produce | Store ethylene-producing crops separately or in sealed containers |
The Most Common Mistakes
- Insulating the exterior foundation wall— this removes the thermal mass connection to the earth. The exterior wall is what keeps the cellar cool. Insulate the ceiling and partition walls only
- No ventilation system—Ecohome (November 2025)is explicit: without controllable intake and exhaust vents, temperature and humidity cannot be regulated and mould becomes a persistent problem
- Using regular drywall for interior surfaces— high humidity in a root cellar turns standard drywall soft and mouldy within months. Use cement board or fibreglass-faced board for all interior surfaces
- Storing produce that has not been cured— potatoes and squash placed straight from harvest into storage without curing deteriorate far faster than cured produce in identical conditions
Before You Build
- Identify if you have a basement with north-facing exterior walls
- Check the space stays below 50°F in winter without modification
- Plan ventilation routes to outside before framing any walls
- Install a thermometer and hygrometer before committing to the design
Once Built
- Monitor temperature daily for the first month — adjust vents in response
- Check humidity weekly — shrivelling produce needs more moisture
- Inspect stored produce every 2–3 weeks and remove anything rotting
- Separate apples, pears, and onions from sensitive root crops