
Under ideal conditions, a single late blight lesion produces thousands of airborne spores within five days. An entire planting can be destroyed within three weeks of first infection. The margin between catching it early and losing the crop is narrow — and most of it is decided by whether you can identify it correctly on the day you first see it.
Quick Answer
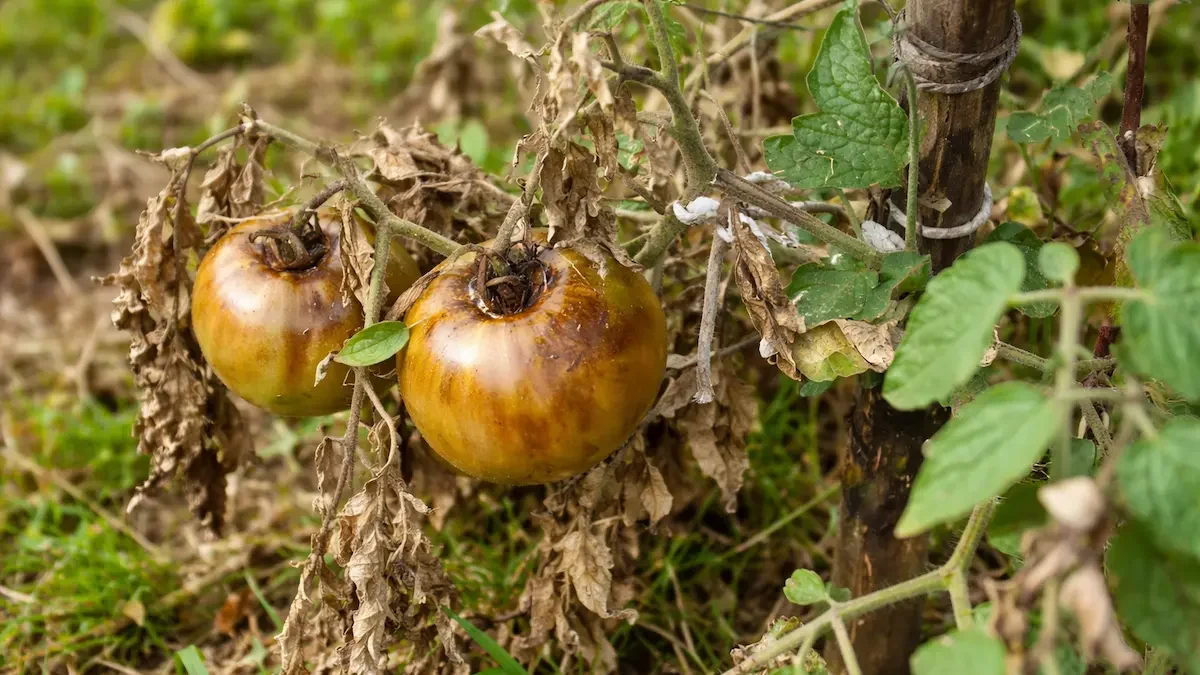
Late blight vs early blight — the key diagnostic difference: late blight (Phytophthora infestans) begins on the youngest, uppermost leaves as pale-edged, water-soaked lesions. Early blight (Alternaria solani) begins on the oldest lower leaves as dark brown lesions with concentric rings. Getting this wrong means applying the wrong response — early blight is manageable with improved airflow and removal of affected leaves; late blight is a crisis requiring immediate action.
The confirming sign for late blight: white cottony mould on the underside of affected leaves. This is sporulation — the pathogen actively producing airborne spores. If you see this, every hour matters. Remove affected material immediately, bag it, and do not compost it.
The weather to watch for: cool nights (10–16°C / 50–60°F) combined with warm humid days and rain, fog, or heavy dew. These are optimal conditions for late blight infection. Lesions can appear within 3–5 days of infection under these conditions.
According to NC State Extension’s late blight guide, the first symptoms on tomatoes are irregularly shaped, water-soaked lesions with a lighter halo or ring around them — found predominantly on the younger, more succulent leaves at the top of the plant canopy. This is the key diagnostic feature that separates late blight from early blight and from other fungal diseases: it starts at the top, not the bottom. University of Minnesota Extension adds that under cool, wet conditions, a single lesion can produce thousands of sporangia in less than five days — these become airborne and infect surrounding plants, which is why the spread from first symptom to crop loss can be measured in weeks, not months.
Identify It Correctly First
| Disease | Where It Starts | Lesion Appearance | Confirming Sign | Speed |
|---|---|---|---|---|
| Late blight (Phytophthora infestans) | Young upper leaves, top of canopy | Pale green, water-soaked, irregular margins; turns brown quickly | White cottony mould on leaf underside = active sporulation | Crisis — can destroy crop in 3 weeks |
| Early blight (Alternaria solani) | Old lower leaves; works upward | Dark brown, concentric rings (target-like), yellow halo | No white mould; lesions stay dry | Slower — manageable with pruning and airflow |
| Septoria leaf spot | Old lower leaves; works upward | Small circular spots with dark borders and lighter centres; tan or grey | Tiny black dots (pycnidia) visible in lesion centres | Moderate — defoliates progressively |
| Bacterial speck | Scattered across whole plant | Very small dark lesions with yellow halo | Spots tiny and numerous; no white mould | Slow; rarely causes total loss |
Immediate Response When You Find Late Blight
The Pacific Northwest Pest Management Handbook is direct: once late blight is established and conditions remain favourable, cultural controls alone are unlikely to slow its development. The immediate priority is reducing spore production — not saving the individual affected plant. Remove all visibly affected leaves and stems immediately, place them directly into sealed bags, and dispose of them in household waste — not the compost heap. Do not shake affected plants or work around them in wet conditions; water on leaf surfaces helps spores germinate, and wet clothing transfers spores between plants.
For potato crops, the eOrganic late blight management guide recommends haulm destruction — cutting the above-ground growth — if blight is confirmed and the crop is near harvest maturity. This stops spore production immediately and prevents spores from washing down and infecting tubers. Delay lifting by 2–3 weeks after haulm destruction to allow tuber skins to set. Tubers infected with late blight rot in storage and can reintroduce the disease the following season.
Reducing Risk the Following Season
| Measure | Why It Helps | How to Implement |
|---|---|---|
| Crop rotation | P. infestans does not persist in soil without a host — removing solanaceous crops from an area for 2–3 years removes the overwintering opportunity | Move tomatoes and potatoes to a different bed; do not grow either in the same location in consecutive years |
| Certified seed potatoes | The most common source of blight introduction is infected potato seed tubers — certified seed is inspected and far less likely to carry the pathogen | Never save and replant potato seed after a blight year; buy certified seed from a reputable UK supplier |
| Resistant varieties | UMN Extension notes that resistant varieties reduce but do not eliminate late blight risk; even resistant varieties show some symptoms in highly favourable conditions | For tomatoes: Ferline, Crimson Crush (UK), Legend; for potatoes: Sarpo Mira, Sarpo Axona — the highest-rated UK late blight resistance |
| Improve airflow | Reducing leaf wetness duration cuts infection events significantly; P. infestans requires free water on leaf surfaces to infect | Remove lower leaves to 40cm, stake and tie upright, widen plant spacing, avoid overhead irrigation |
| Remove volunteer solanaceous plants | Volunteer potato plants from missed tubers and self-seeded tomatoes are common infection sources the following season | Check beds thoroughly in spring and remove all solanaceous volunteers before the growing season begins |
What to Do
- Learn to identify late blight before the season starts— the diagnostic key is where lesions appear first: young upper leaves with water-soaked irregular patches and white mould on the underside. Early blight looks different and demands a different response
- Remove affected material immediately and bag it— do not compost it, shake it, or leave it on the bed; every hour of sporulation spreads the disease further
- Destroy potato haulms if blight is confirmed near harvest— cutting above-ground growth stops spore production and protects the tuber crop below; wait 2–3 weeks before lifting
- Never replant saved potatoes from a blight year— infected tubers are the most reliable way to reintroduce the disease; buy certified seed the following season
- Choose resistant varieties for high-risk years— Sarpo Mira (potato) and Crimson Crush (tomato) offer the strongest currently available UK late blight resistance
- Reduce leaf wetness duration throughout the season— water at the base, not overhead; remove lower leaves to improve airflow; stake plants upright to keep foliage off wet soil
Common Mistakes
- Confusing late blight with early blight and treating accordingly— early blight is manageable with good hygiene and copper sprays applied early; late blight at the sporulation stage requires immediate removal of affected material, not just treatment
- Composting affected material— P. infestans does not survive well in soil but can persist in plant debris; composting affected haulms, leaves, and tubers risks reintroducing the pathogen
- Working around plants in wet conditions— transferring water from affected leaves to healthy ones on hands, tools, or clothing is a significant short-range spread mechanism; always work in dry conditions and clean tools between beds
When You Find It
- Confirm: water-soaked lesions on upper leaves + white mould underneath
- Remove all affected material immediately — bag, do not compost
- For potatoes near maturity: cut haulms, wait 2–3 weeks before lifting
- Do not work around affected plants in wet weather
Next Season
- Buy certified seed potatoes — never save from a blight year
- Rotate tomatoes and potatoes to a different bed
- Remove all volunteer solanaceous plants in spring
- Choose Sarpo Mira (potato) or Crimson Crush (tomato) for resistant varieties