
Windfall apples — the ones that drop before perfect ripeness — are often overlooked or wasted. But they are ideal for making apple cider vinegar. Slight imperfections don’t matter, and even mixed varieties produce excellent results.
The process is simple, requires no specialist equipment, and turns surplus fruit into a long-lasting, useful product.
What You’re Actually Making
Apple cider vinegar is created through a two-stage fermentation process.
First, natural yeasts convert sugars in the apples into alcohol. Then bacteria convert that alcohol into acetic acid — the key component of vinegar.
According to University of Minnesota fermentation basics, this natural process occurs when sugars, yeast, and oxygen are present in the right conditions.
The important thing is not precision — it’s creating the right environment.
What You Need
You don’t need much to get started:
- Windfall apples (any variety)
- Water
- Sugar (optional, depending on sweetness)
- A large jar or container
- Cloth or paper towel to cover
- A rubber band or string
Avoid using rotten apples, but bruised or slightly damaged fruit is perfectly fine.
Preparing the Apples
Wash the apples to remove dirt, but don’t scrub too aggressively — natural yeasts on the skin help start fermentation.
Cut them into small pieces. You can include cores and peels — everything except heavily damaged or mouldy parts.
Fill your container about halfway with chopped apples.
Add water until the fruit is fully submerged. If apples are not very sweet, add a small amount of sugar (about 1 tablespoon per cup of water) to help fermentation start.
The First Stage: Alcohol Fermentation
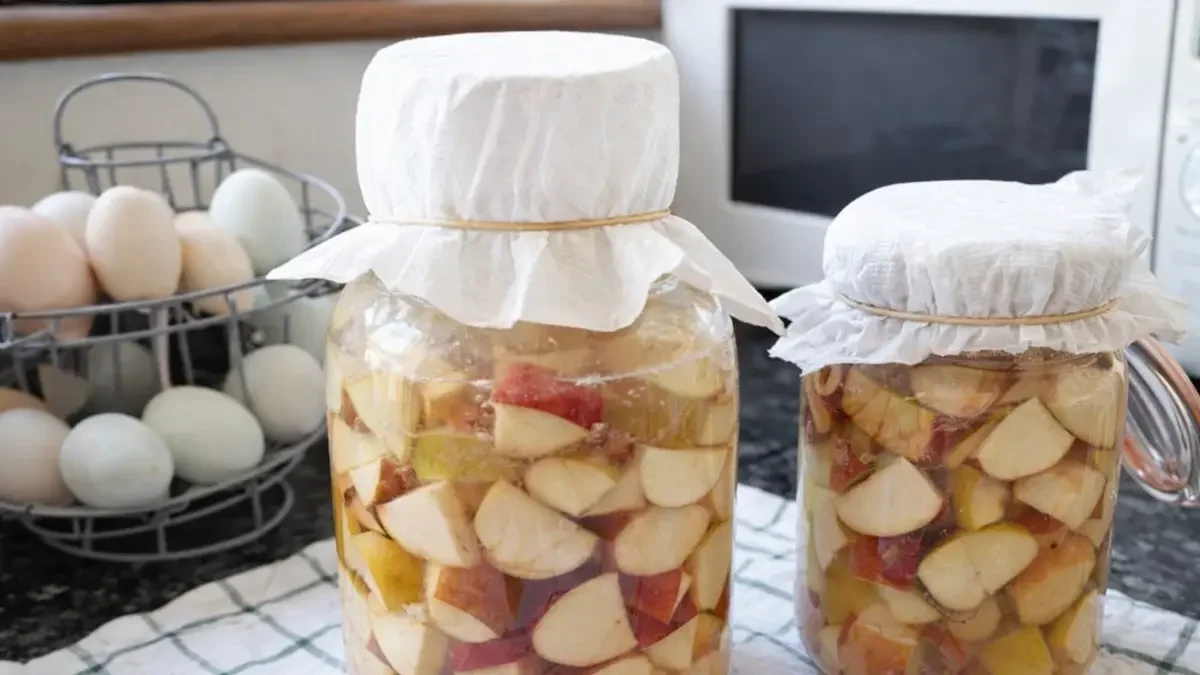
Cover the container with cloth to keep insects out while allowing airflow.
Place it in a warm, dark place.
Over the next 1–2 weeks:
- Bubbles will appear
- A slightly alcoholic smell develops
- The liquid becomes cloudy
Stir the mixture once a day to prevent mould and ensure even fermentation.
This stage converts sugars into alcohol.
Straining the Liquid
After about two weeks, strain out the solids.
What you’re left with is a crude apple cider — slightly alcoholic, but not yet vinegar.
Pour the liquid back into a clean container.
The Second Stage: Turning Into Vinegar
Cover again with cloth and return it to a warm place.
Over the next 3–6 weeks:
- A tangy, acidic smell develops
- The liquid clears slightly
- A cloudy layer (the “mother”) may form on top
This is the stage where alcohol converts into vinegar.
According to Penn State Extension fermentation guide, exposure to air is essential at this stage for acetic acid bacteria to develop.
How to Know When It’s Ready
Taste is the best indicator.
When the liquid is sharply acidic with no alcoholic taste, it’s ready.
If it still tastes slightly sweet or alcoholic, give it more time.
Fermentation speed depends on temperature — warmer conditions accelerate the process.
Bottling and Storage
Once ready, strain again if needed and transfer to bottles.
Seal with a lid and store in a cool, dark place.
Properly made vinegar keeps for a long time without refrigeration.
Common Mistakes
Using sealed containers too early is a common problem. Vinegar needs oxygen during fermentation — sealing it too soon stops the process.
Another issue is neglecting daily stirring in the early stage. This can lead to mould forming on exposed fruit.
Using too little sugar can also slow or stall fermentation, especially with tart apples.
Finally, impatience is a factor. Vinegar takes time — rushing the process results in weak flavour.
A More Practical Way to Think About It
Making apple cider vinegar is less about following exact steps and more about managing a natural process.
You’re not “making” vinegar in the traditional sense — you’re creating the conditions for microbes to do the work.
Once you understand that, the process becomes flexible and forgiving.
Why It’s Worth Doing
For a smallholding or garden, this is one of the easiest ways to reduce waste and create value from surplus fruit.
Instead of composting windfalls, you turn them into something useful for:
- Cooking
- Preserving
- Cleaning
- Garden use (diluted applications)
Long-Term Perspective
Once you’ve done it once, it becomes a habit. Each season’s surplus apples can be turned into vinegar with minimal effort.
Over time, you can refine the process — adjusting sweetness, blending varieties, or even keeping a “mother” to speed up future batches.
It’s a simple system that fits naturally into a productive garden cycle — turning waste into something that lasts.
Если хочешь, могу сделать следующую статью — например: how to make compost tea или how to store apples properly for winter.